

Mounting a screen above normal reach changes the mood of the whole job. The bracket may be rated correctly, but the screen still has to be lifted safely, aimed from the actual seat and serviced without turning a small reset into a ladder call.
High mounts get unforgiving quickly
The wall looks simple from the floor until the screen is overhead. Then the screen is overhead, the ports are hidden, the ladder is in the way and a cable that was short by two inches becomes the whole problem. That is why high-wall and ceiling mounts need a slower plan than a normal living-room bracket.
High-mount planning: Start with access and structure, then confirm mount rating, screen angle, cable slack, aiming room and the service path after the ladder is gone.
A practical install still makes sense six months later. Someone may need to change an HDMI cable, reset a streaming device, clean dust from a commercial display or adjust the tilt after furniture moves. If the only way to touch the screen is an unsafe reach, the mount is not really finished.
Safety boundary: Use the mount and TV instructions, respect structural limits and keep electrical work inside the right trade. Height makes small shortcuts less forgiving.
Judge the screen from the place people actually stand or sit
A garage screen watched from a workbench, a gym display seen from moving equipment and a bedroom TV viewed from a pillow all require different angles. A level line on the wall is only the start; the real test is the viewer's neck, glare and distance.
Tilt, drop poles and ceiling mounts help, but each one brings its own clearance and cable movement. The hardware should solve the room's viewing problem, not simply put the TV higher.
Viewing and location checks
- Where will people watch from: sofa, bed, treadmill, counter, waiting area or workbench?
- Will the TV need tilt, swivel or drop-down movement to face the viewer?
- Will windows or overhead lights create glare at that height?
- Can the screen be reached for cleaning, reset, HDMI changes or service?
- Will the TV interfere with doors, cabinets, fans, sprinklers, signage or ceiling fixtures?


The lift plan is part of the installation
The lift is staged, not improvised. Clear the floor, check the ladder height, confirm helper positions, attach cables before the screen blocks access and keep the mount hardware within reach. A large screen does not need to be extremely heavy to be awkward overhead.
Missing spacers, short HDMI cables and blocked ports belong in the floor-stage check while the TV is still safe. Once the screen is above eye level, every small correction costs more time and risk.
Structure matters more when the mount is high
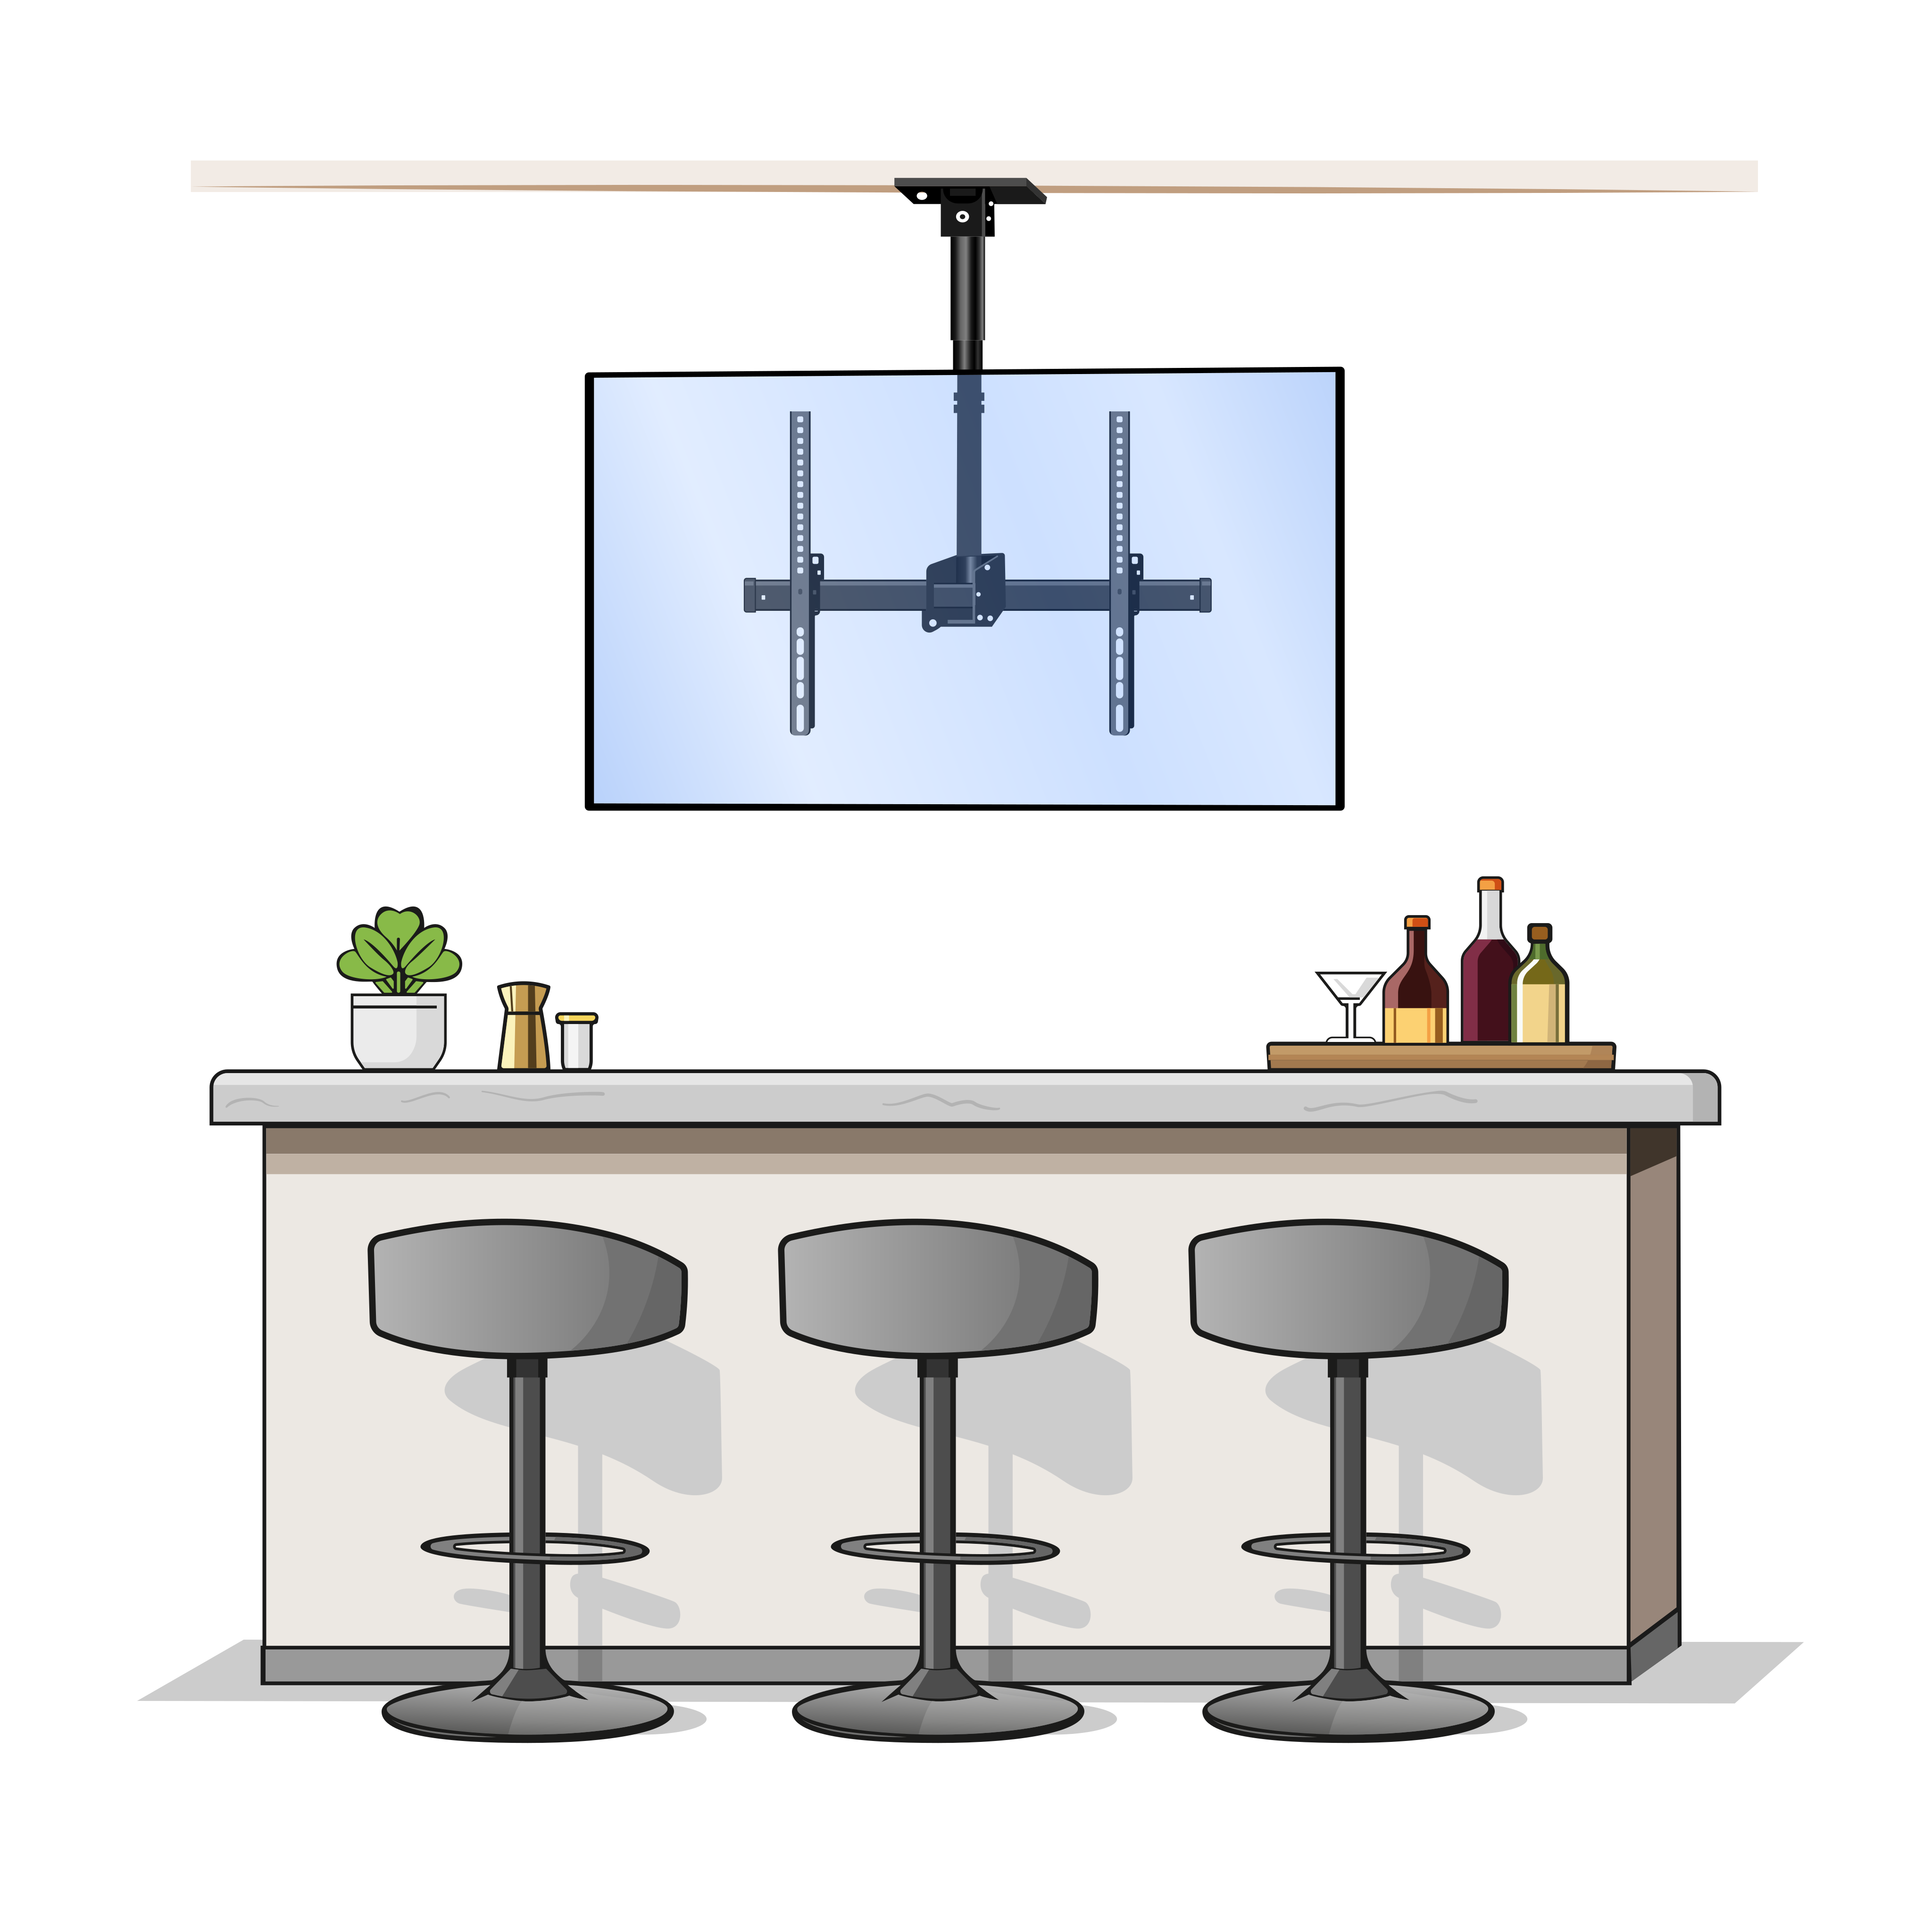
A high wall ranges from drywall over studs to masonry, block, tile, plywood backing, a cabinet face or a commercial partition. A ceiling can hide joists, trusses, drop-ceiling grid, conduit, HVAC, sprinklers and lighting. The mount must be attached to structure appropriate for the load and movement. A ceiling tile is not structure. A wall surface that feels firm may still need studs, backing or masonry anchors in the right place.
Movement increases the requirement. A fixed high-wall mount is different from a tilt mount. A ceiling mount with a pole or motorized/drop-down movement is different again. The farther the TV sits from the structure, the more extension load the mount applies. The site has to be read as a load path, not just a surface.
Structure checks before drilling
- Confirm the mount rating, TV weight and VESA pattern.
- Find studs, blocking, masonry or ceiling joists that can actually carry the load.
- Avoid attaching to decorative surfaces, drop-ceiling tile or unsupported panels.
- Check what is hidden above or behind the mounting area: conduit, vents, sprinklers, framing or cabinets.
- Plan how the mount can be tightened, adjusted and inspected after installation.
Cable and power planning gets harder at height
A high TV makes every cable mistake more expensive. If HDMI is too short, if the outlet is too far away, if a streaming device needs USB power, or if Ethernet is desired later, the fix may require another ladder setup. A clean high mount needs the same separation as any TV job: low-voltage signal cables are one problem; power is another. A normal TV power cord should not be hidden loose inside a wall or ceiling cavity.
Cable slack is also different. A fixed high-wall TV may need enough slack for tilt and future service. A ceiling or drop-down mount may need cable movement through the mount path. The cable should not pull tight, pinch, rub on a sharp edge or hang in a loop that looks unfinished. Service loops are useful only when they are placed where they can be accessed and do not create a visible mess.
Service access is part of the design
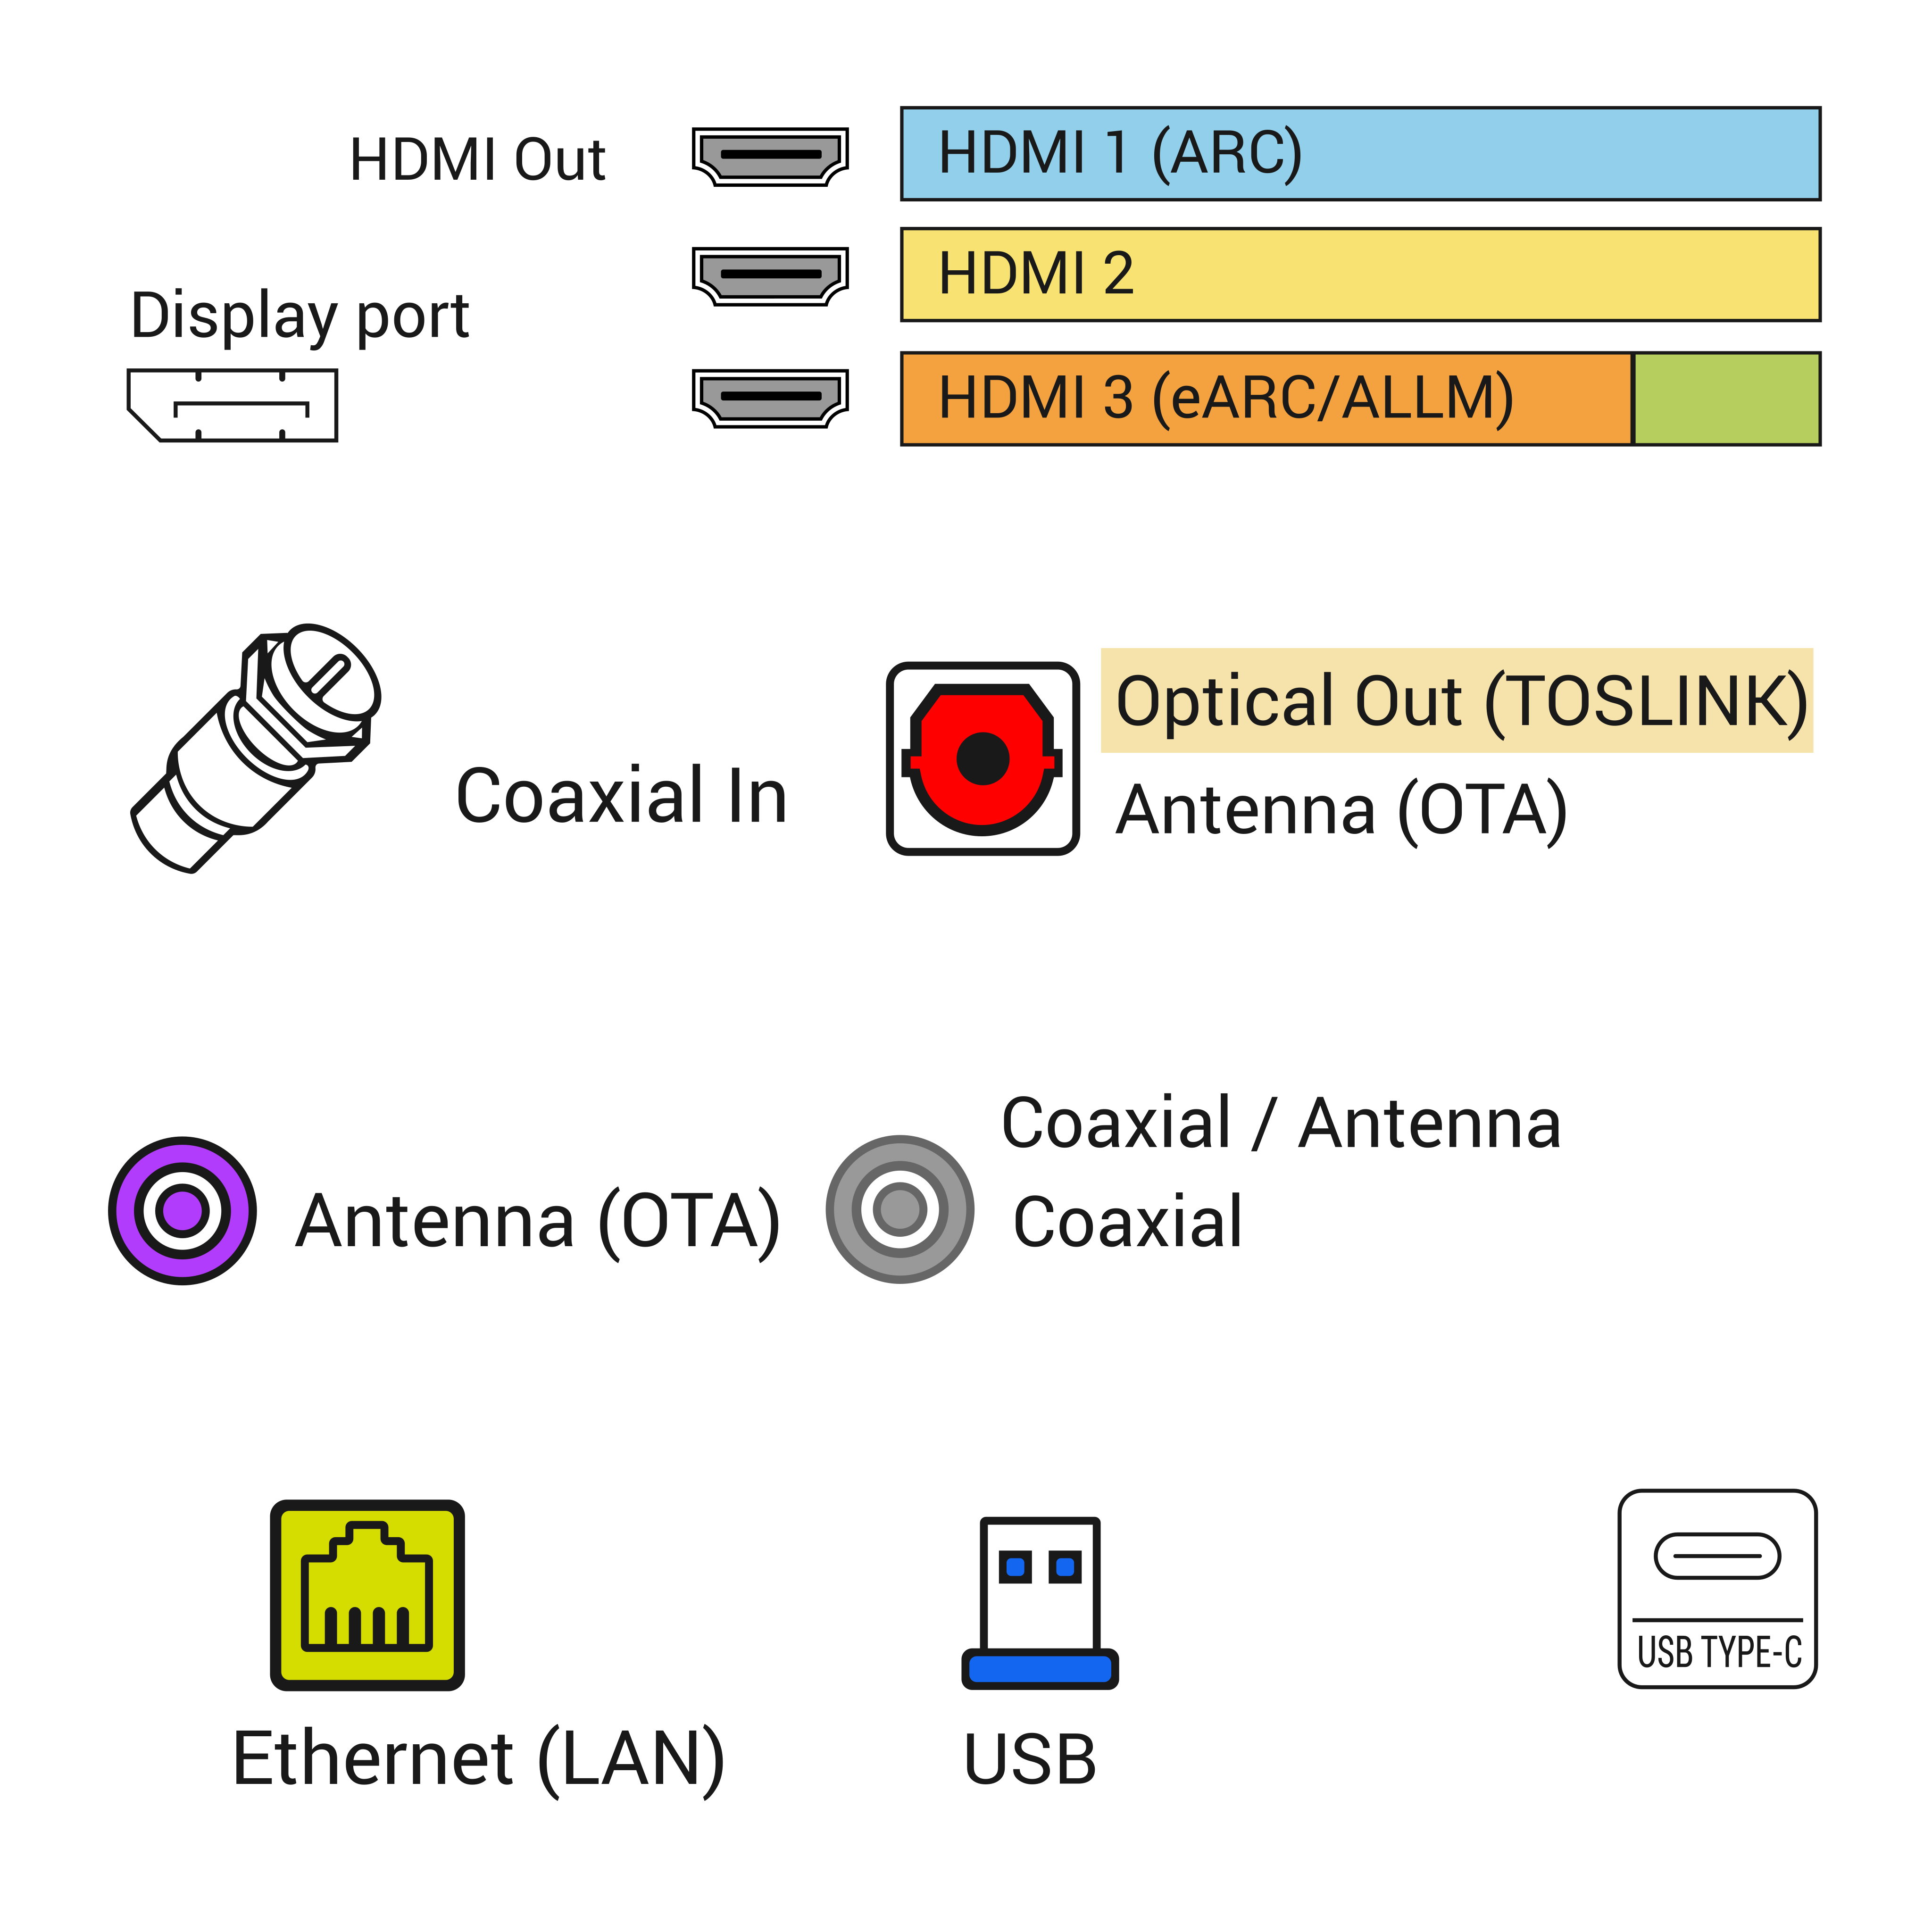
A high TV does not belong as a sealed object nobody can service. The customer may need to change an HDMI cable, reset a streaming device, add a soundbar, update a cable box, pair a remote or clean dust from vents. If every small change requires a ladder, the install may still be correct, but the customer should understand that limitation.
For commercial and retail spaces, serviceability matters even more. A display above a counter, waiting area or showroom may need quick troubleshooting during business hours. A ceiling-mounted display may need documented cable labels, known power source, remote or app access, and clear notes about how the mount moves. Closeout documentation is not paperwork for its own sake; it keeps the next service visit from becoming guesswork.
When height is the wrong answer
Some high mounts are bad calls. If the TV would be uncomfortable to watch, the wall or ceiling structure cannot be verified, the cable path would require unsafe power handling, the install would block vents or fixtures, or future service would be unreasonable, a lower location is better. A high mount can look impressive and still be the wrong daily-use choice.
Good alternatives include a lower wall, a different room layout, a smaller TV, a tilt mount instead of a fixed mount, a cabinet or pole solution, or a serviceable raceway instead of a hidden route. The right choice is the one that works after the installer leaves, not only the one that fills the wall.
What to send before booking a high-wall or ceiling mount
Good photos start wide. Show the full wall or ceiling area, the seating or work area, nearby fixtures, floor space for ladders and any furniture that affects access. Then send close photos of the mounting surface, existing outlets, cable plates, ceiling tiles, beams or shelves. If the TV and mount are already purchased, send the TV size, mount model and a photo of the back of the TV ports.
Measurements help: ceiling height, desired screen height, distance from seats, outlet distance, mount arm/drop length and any obstruction clearance. If the install is in a business, include working hours, ladder restrictions, access rules and whether the display must be tested with a media player, POS screen, menu board, camera feed or conference device.
What the closeout proves
A finished high-wall or ceiling TV mount proves that the TV is secure, level, aimed correctly, connected, powered, and serviceable enough for the intended use. The closeout should include a wide finished photo, a closer photo of the mount area if appropriate, notes about cable path, notes about any remaining limitation and confirmation that the input or app path works.
If the TV moves, test the movement. If it tilts, the tilt should hold. If it uses a ceiling mount or drop-down mechanism, the clearance should be checked. If the customer needs a specific source, soundbar, streaming device or remote function, that should be tested before the technician leaves. Height makes return visits more expensive, so the first closeout has to be more careful.
Before booking: Before booking, send a wide wall photo, a closer outlet or console photo, TV size, mount status and whether cable concealment is part of the job.
Plan access after the ladder is gone
High mounting adds a second service problem: the TV still has to be reachable for ports, reset buttons, streaming devices and cleaning after the install.
High-wall and ceiling decision table
| Height issue | Check next | What to send |
|---|---|---|
| Ports hidden after lift | Cable attachment before the screen blocks access | Photo of TV port side and planned mount height |
| Ceiling or drop-pole mount | Structure, swing path and cable strain | Ceiling area photo plus bracket or pole model |
| Commercial or gym display | Viewing angle, glare and remote control path | Floor-level photo from normal viewer position |
The table focuses on access and safety, the two places high installs punish shortcuts.
Trusted safety reference
High-wall and ceiling work changes the access risk. This reference is useful for ladder setup awareness before deciding whether the job is simple.
Next service decisions

Share this article:
Facebook X LinkedIn Email Text Add comment
Need help with a similar setup?
Send photos of the wall, network equipment, device labels you can share safely, and the result you want. The service team can usually narrow the right next step before an onsite visit.
Plan a cleaner service visit
Send a wide photo, one close device photo, the cable path and the result you want. Leave out account screens, addresses and private labels unless they are safely covered.
Request a callFeatured service

Field Service Blog Guide: TV, Wi-Fi, POS, Security and Onsite Support
Use this guide as a dispatch map for the real problem in front of you: screen, cable, Wi-Fi, POS lane, rack, camera, phone or onsite support visit.
View servicesRelated articles
Comments
Reader notes and service questions
No approved comments yet.
Leave a comment